A water heater’s pilot light is an essential component that ignites the burner to heat water. Over time, pilot lights can go out due to issues like drafts, dirt buildup, or a faulty thermocouple. Fortunately, relighting a water heater pilot light is usually a straightforward process — although you should ensure you do it safely.
Here, AAA Service Plumbing, Heating and Electric will guide you through the steps to safely relight the pilot light on a gas water heater and troubleshoot any potential issues along the way.
1. Locate the Pilot Light
Most gas water heaters have the pilot light at the bottom, near the burner assembly. Open the access panel, usually at the base of the water heater. Inside, you’ll see the burner, a gas valve, and the pilot light. If your model is different, consult the user manual or look for instructions on the water heater itself.
2. Turn Off the Gas
Safety is critical when working with gas appliances. Start by turning the gas control knob to the “Off” position. This prevents gas from leaking during the relighting process, which could cause a fire hazard. Wait at least 10 minutes to allow any remaining gas to dissipate. This reduces the risk of accidentally igniting stray gas while relighting the pilot.
3. Turn the Gas Valve to Pilot
Once you’ve ensured any lingering gas has cleared, turn the gas control knob to the “Pilot” setting. This setting allows a small amount of gas to flow directly to the pilot, which is necessary to ignite it. For some models, you may need to press and hold a separate “Pilot” button to maintain the flow of gas.
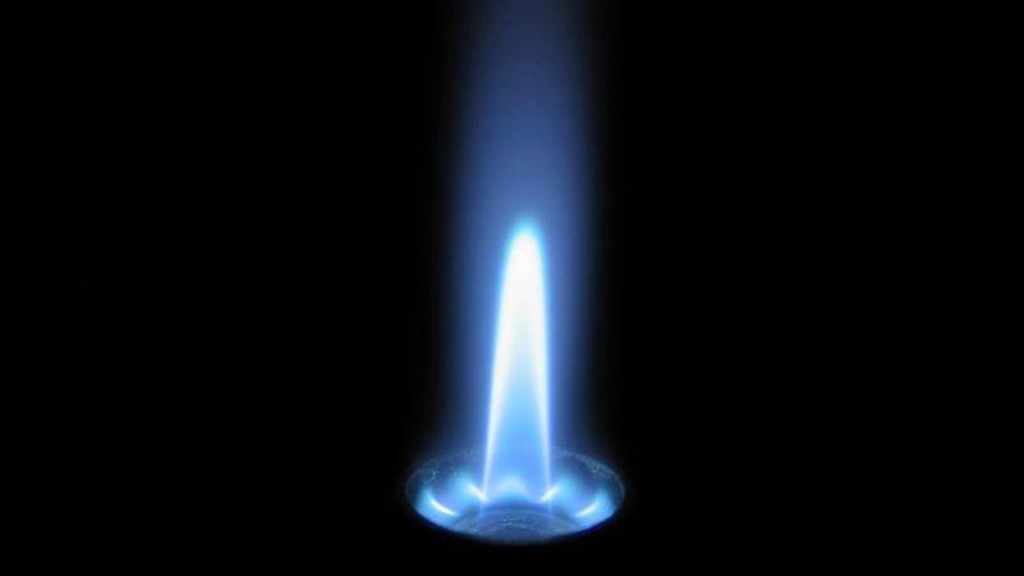
4. Light the Pilot Light
There are two common ways to light a water heater pilot:
- Manual ignition: Using a long lighter or match, carefully ignite the pilot. Continue holding down the pilot button or gas control knob for 30 seconds, allowing the thermocouple to warm up and sense that the pilot is lit.
- Electronic ignition: If your water heater has an electronic ignition system, simply press the ignition button while holding down the pilot knob. You should hear a clicking sound as the igniter sparks.
After lighting, keep holding the knob or button for another 30 seconds to ensure the flame remains steady. Slowly release and check that the flame stays lit.
5. Turn the Gas Back On
After the pilot light is successfully lit, turn the gas control knob to the “On” position. This allows gas to flow to the burner, which should automatically ignite as it senses the pilot light. Close the access panel, and your water heater should now be operational.
Common Reasons Pilot Lights Go Out
If your pilot light frequently goes out, it could be due to a few common issues:
- Drafts or wind: Strong airflow can blow out the pilot light, especially in drafty areas.
- Dirty pilot tube: Dust or dirt in the pilot tube can disrupt the gas flow, causing the light to go out.
- Faulty thermocouple: This safety device shuts off the gas if it doesn’t sense a pilot light. If damaged, it may need replacement.
- Gas supply issues: An inconsistent gas supply could cause your pilot to extinguish frequently.
If these troubleshooting steps don’t resolve the problem, you could have a faulty part or a more complex repair issue.
Choose AAA Service Plumbing, Heating and Electric for Water Heater Repairs in Denver, CO
If your pilot light won’t stay lit despite following these steps, it may be time to consult a professional. At AAA Service Plumbing, Heating and Electric, we offer comprehensive water heater services to ensure you have reliable hot water year-round.
As a trusted plumbing provider in Denver, CO, we can handle complex issues safely and effectively.
For prompt assistance, reach out to AAA Service Plumbing, Heating and Electric. We’ll get your water heater running smoothly so you can enjoy consistent, hot water again.

